
Capturing the mesmerizing dance of the northern lights might seem like a task fit for professional photographers armed with fancy gear. But guess what? Your iPhone 13 is ready to step up to the challenge and steal the show! With its powerful camera and user-friendly features, it can help anyone snap stunning shots of this natural wonder.
Understanding The Northern Lights
Northern lights, also known as auroras, occur when charged particles collide with Earth’s atmosphere. This stunning display of natural light primarily appears in high-latitude regions, such as Alaska, Canada, and Scandinavia. Observers often witness vibrant colors, like greens, pinks, and purples, illuminating the night sky.
The intensity of northern lights varies based on solar activity. During strong solar storms, it’s possible to see these lights at lower latitudes. Irregular patterns create captivating shapes that move and shimmer across the sky, captivating viewers.
When aiming to photograph these lights, timing and location play crucial roles. Ideal conditions occur during winter months when nights are long and skies are dark. Selecting a clear night enhances visibility, reducing atmospheric interference.
Understanding local weather forecasts helps optimize viewing opportunities. Checking aurora forecasts, available through numerous dedicated apps and websites, provides up-to-date information about potential activity. High auroral activity results in brighter displays, crucial for capturing vivid images.
Many factors affect the appearance of northern lights, including light pollution. Venturing away from urban areas increases the chances of seeing and photographing this natural phenomenon. Emphasizing the importance of finding a dark spot leads to better results.
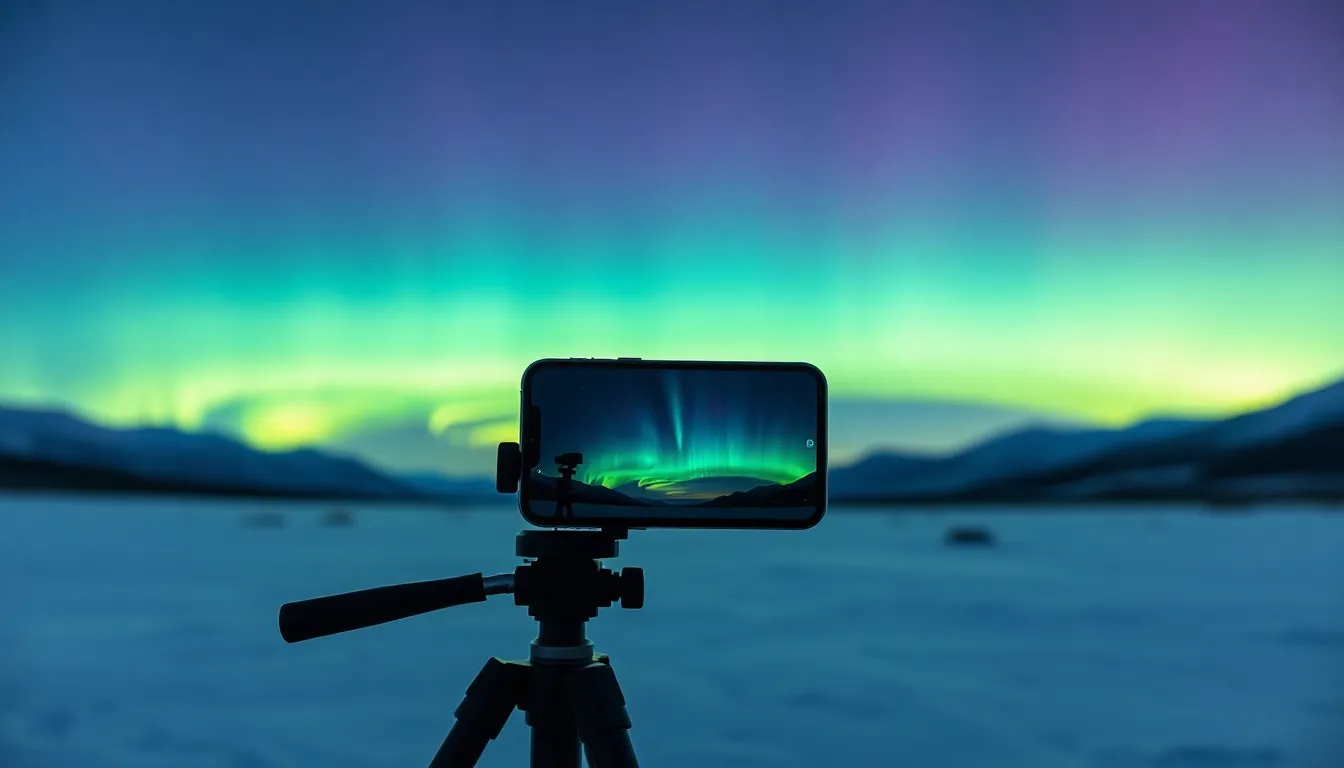
Photography techniques also impact the quality of images. Utilizing longer exposure times captures more light, revealing the full range of colors. Also, using a tripod stabilizes the camera, reducing the risk of blurry pictures during exposures.
Preparation enhances the overall experience of photographing northern lights. Ensuring the iPhone 13 is charged and equipped with a suitable app gives photographers the tools they need for success. Understanding these aspects elevates the potential to capture the breathtaking beauty of the northern lights.
Preparing Your iPhone 13
Preparing the iPhone 13 for northern lights photography requires attention to detail in a few key areas.
Checking Camera Settings
Adjusting camera settings optimizes the iPhone 13 for low-light environments. Set the camera to Night mode for enhanced image capture, allowing the device to use longer exposure times. Enable the grid feature to help align shots and maintain level horizons. Switching to the ProRAW format may benefit advanced users who want to edit images post-capture. Experimenting with exposure settings offers additional control over brightness and clarity. Focus on a distant light source if manual focus is available; it sharpens the aurora details best.
Ensuring Battery Life
Ensuring battery life maximizes the chances of capturing stunning aurora images. Charge the iPhone 13 fully before heading out, as cold temperatures drain batteries faster. Activating Low Power Mode conserves energy, allowing for extended usage. Closing unnecessary apps reduces background activity, preserving battery life. Keeping a portable charger handy serves as a backup for longer nights of photography. Minimizing screen brightness also extends battery performance while maintaining visibility for adjustments.
Best Locations For Photographing Northern Lights
Photographing the northern lights requires choosing the right locations that maximize visibility. High-latitude regions offer the best opportunities, so targeting areas with clear skies and minimal light pollution is crucial.
Ideal Timing For Northern Lights
Optimal viewing occurs during the winter months, typically from late September to early April. Dark, clear nights enhance visibility, especially near the new moon when the sky is less illuminated. Solar activity peaks around the equinoxes in March and September, increasing aurora intensity. Aim for times around midnight, as these hours often yield the most vibrant displays.
Essential Gear To Bring
Bringing the right gear ensures successful photography experiences. An iPhone 13, fully charged, stands as the primary device for capturing images. A portable charger helps maintain battery life during long outings. Tripods stabilize the phone, allowing for longer exposure shots. Consider using gloves that allow for screen interaction, as cold weather can make handling devices challenging. Lastly, dress warmly to stay comfortable while waiting for the auroras to appear.
Techniques For Capturing Northern Lights
Capturing the northern lights with an iPhone 13 involves leveraging its advanced features and settings effectively.
Using Night Mode
Activating Night mode allows the camera to automatically adjust its settings for low-light conditions. This feature enhances visibility and sharpness in aurora photos. It’s essential to hold the phone steady during the capture to avoid blurriness. Using a tripod improves stability, especially for longer exposure times. Composing the scene beforehand helps ensure the auroras’ vibrancy fills the frame. If it’s bright enough, Night mode can also reduce noise present in darker images.
Adjusting Exposure And Focus
For optimal results, adjusting exposure levels is crucial. Increasing the exposure time captures more light, showcasing the northern lights’ colors vividly. Users can tap the screen to focus precisely on the auroras or any foreground elements. If the images appear too bright, reducing exposure prevents the loss of detail in the highlights. Experimenting with focus settings can yield unique perspectives of the lights. Regularly reviewing images after adjustments provides instant feedback for further tweaks.
Tips For Post-Processing Your Photos
Post-processing enhances northern lights photos taken with the iPhone 13. Utilizing editing apps can elevate the quality of images captured in low-light conditions.
Recommended Apps For Editing
Editing apps provide powerful tools for enhancing images. Adobe Lightroom offers features like exposure adjustments and color grading. Snapseed enables precision editing with selective adjustments and filters. VSCO includes a variety of presets to add a unique touch. These applications cater to different editing styles, making it easy to find the right fit.
Enhancing Details And Colors
Adjusting brightness allows the auroras to pop in the frame. Increasing contrast can bring depth to the image, highlighting the lights’ vibrant colors. Saturation tweaks enhance hue richness, making the greens and purples more prominent. Clarity adjustments sharpen details, adding definition to the landscape beneath the auroras. Cropping helps focus on the most captivating elements, ensuring the composition remains striking.
Capturing the northern lights with an iPhone 13 is an exciting adventure that anyone can embark on. With the right techniques and preparation it’s possible to create stunning images that showcase this natural wonder.
By understanding the science behind the auroras and utilizing the iPhone’s powerful camera features photographers can achieve impressive results without needing professional gear.
As the northern lights dance across the sky finding the perfect location and optimizing camera settings will enhance the experience. With a little patience and creativity anyone can immortalize the beauty of the auroras through their lens.

